3. Getting Started
Go from zero to your first documented data asset in under 5 minutes.
3.1 Create Your Account
Go to the registration page
Visit /register and fill in your company name, email, and password. Each registration creates an isolated workspace (tenant) for your organization.
Sign in
Use your email and password at /login. The platform issues a 30-minute access token (auto-refreshed) and a 7-day refresh token stored locally.
Access the Admin panel
As the account creator, you have the Admin role. Navigate to /admin to manage users, connections, and catalog settings.
3.2 Create Your First Data Asset
From the catalog view (/app), click + New. Choose an asset type (Table, Dashboard, KPI, etc.), fill in the name, description, owner, domain, and tags, then save. Your first asset is now in the catalog.
3.3 Invite Users
From the Admin panel, go to the Users tab. Enter an email, choose a role (Admin, Editor, or Viewer) and send the invite. User limits depend on your plan (3 on Starter, 30 on Pro, unlimited on Enterprise).
3.4 Explore the Catalog
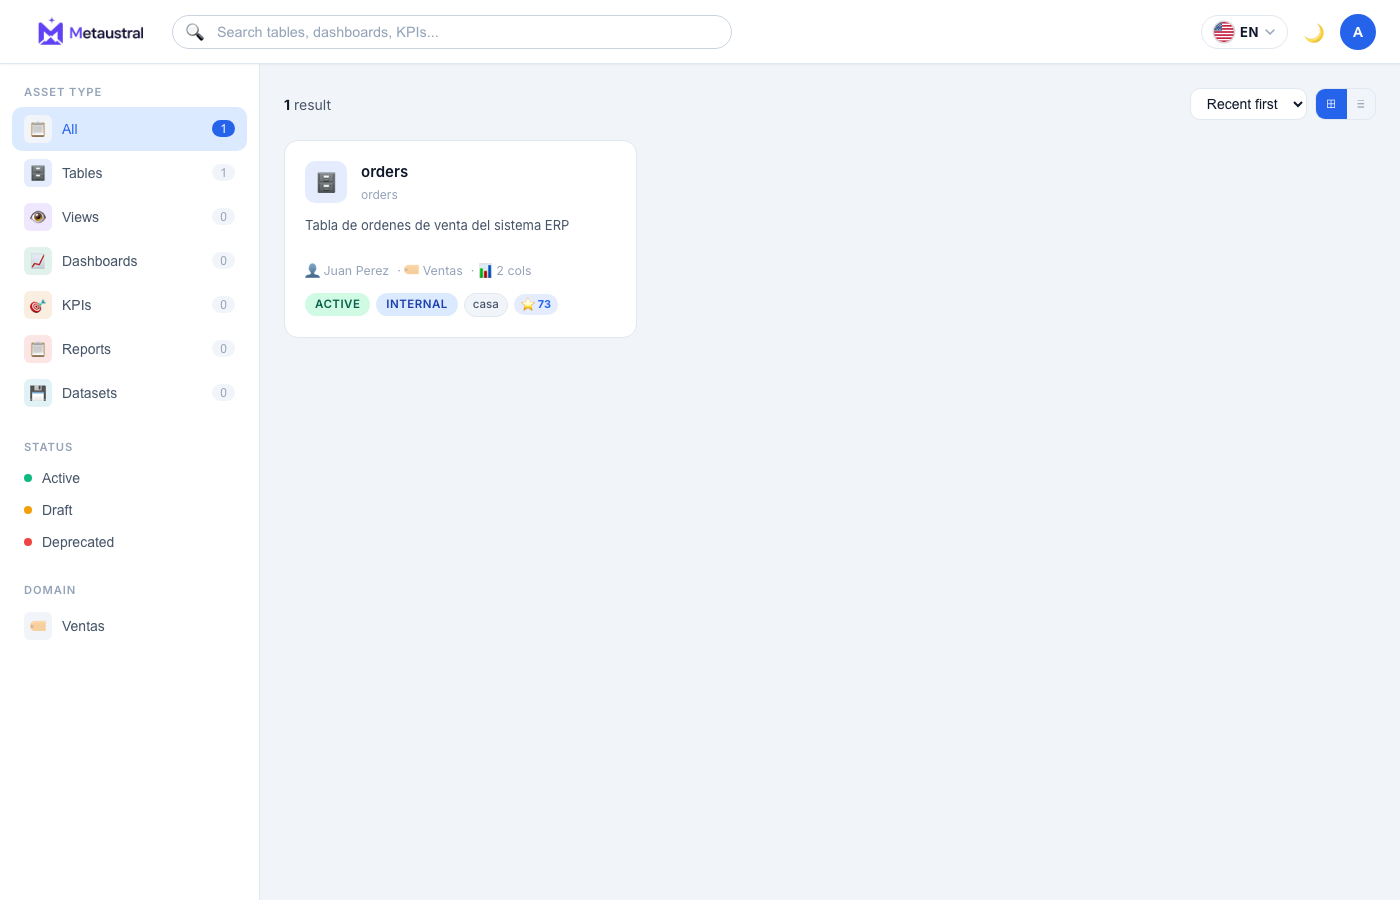
The catalog view (/app) lets you search by name, filter by asset type, status, domain, or tag. Click any asset to open its detail page with full metadata, column documentation, lineage graph, and quality score.